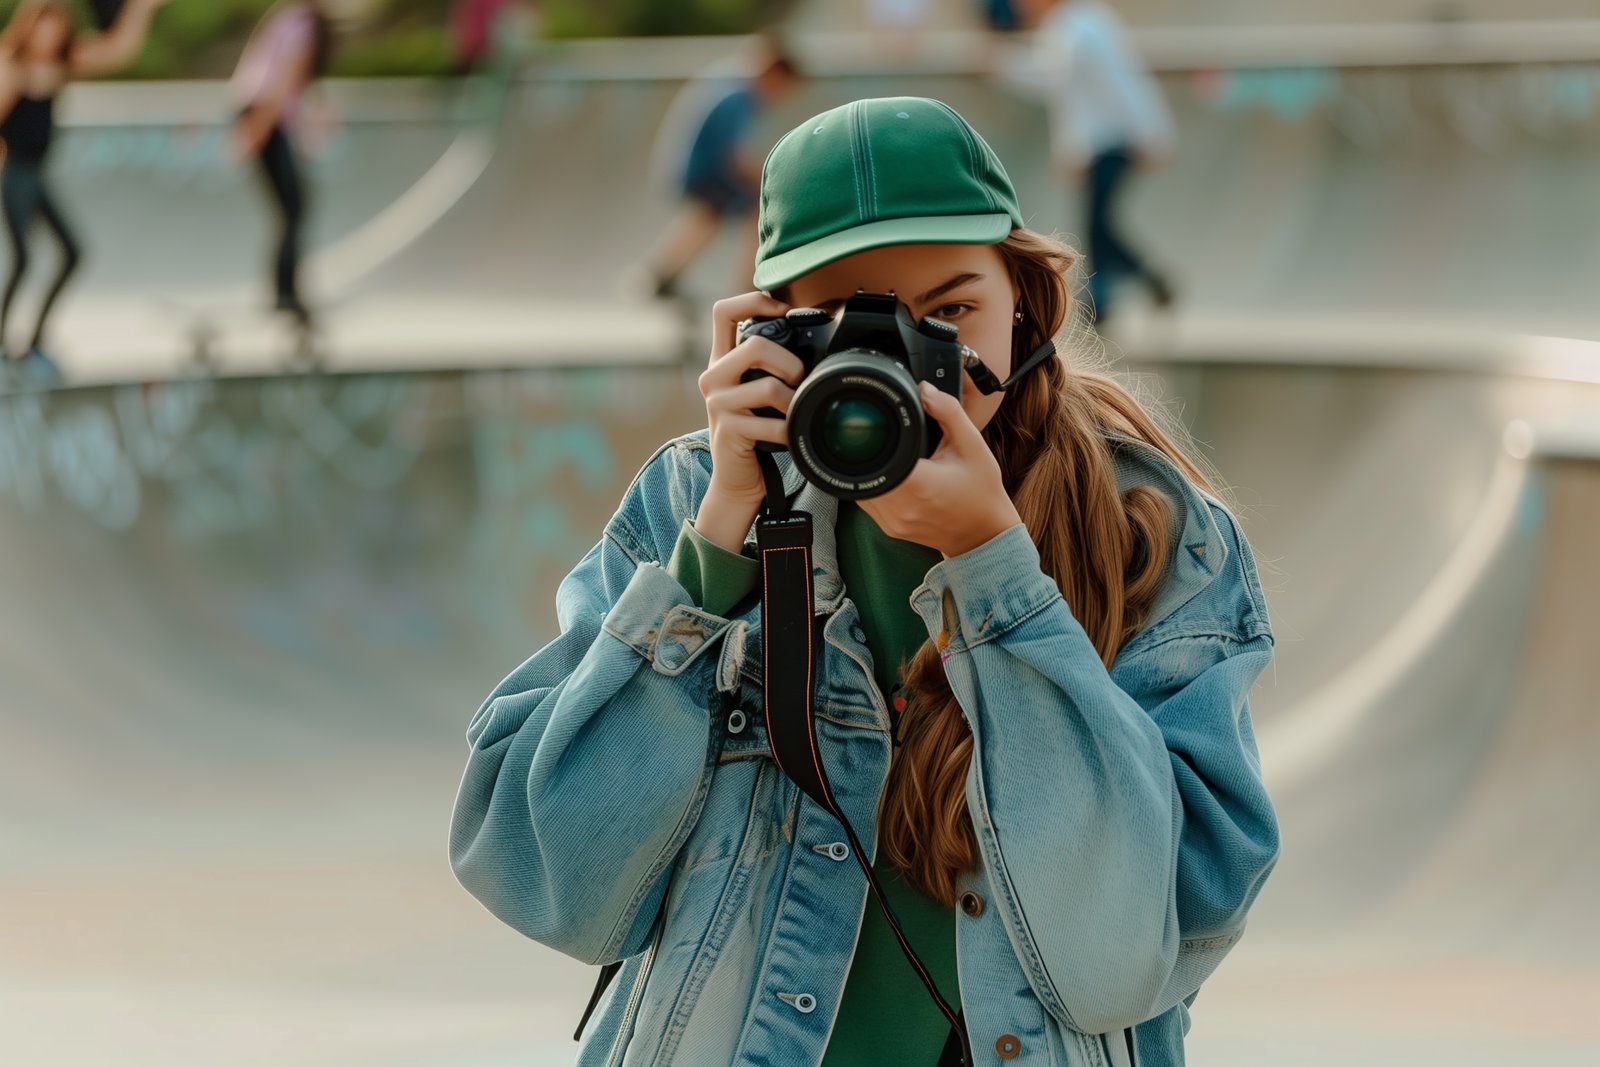
In today's world, high-quality camera phones have revolutionized photography, making it more accessible than ever. As a result, the demand for professional-looking photographs has skyrocketed. While seasoned photographers make it look effortless, creating stunning images is a skill that requires practice and understanding. Whether you're capturing a family event, a business product, or a beautiful landscape, knowing how to take professional photos can make all the difference. In this comprehensive guide, we'll explore the importance of professional photography, offer a step-by-step approach to capturing stunning images, and share invaluable tips to elevate your photography skills.
Ready to start taking stunning, professional photos? Follow these essential steps:
1. Choose and Understand Your Subject.
Every photograph tells a unique story, and your subject is the main character. Understanding your subject is key to crafting a compelling narrative through your images. Here’s how to approach your subject effectively:
- Identify the Focus: Whether you're capturing a portrait, landscape, or action shot, clarify what you want to convey. The type of subject will determine how you set up your shot.
- Set a Purpose: Approach each photograph with a clear goal in mind. Whether it’s to evoke an emotion, showcase a product, or document an event, having a purpose helps guide your decisions on lighting, framing, and composition.
- Consider the Context: Different scenarios require different approaches. A candid photo at an event will differ from a meticulously staged product shot, so adapt your techniques accordingly.
2. Use the Right Camera and Photography Gear.

Investing in photography gear can enhance the quality of your images, but you don't need to break the bank to achieve professional results. Here are some tips for selecting the right equipment:
- Embrace Your Smartphone: Modern smartphones boast impressive camera technology. Learn to utilize features like portrait mode and HDR to capture high-quality images on the go.
- Explore Different Lenses: If you’re using a DSLR or mirrorless camera, experimenting with different lenses can drastically change your photography game. A versatile zoom lens (e.g., 24-70mm) works well in many situations, while specific lenses can help you focus on particular styles, such as macro or portrait photography.
- Invest in a Tripod: A sturdy tripod stabilizes your camera and allows for steady shots, especially in low-light situations. It also enables long exposures, which can create stunning effects in your photos.
- Understand Your Equipment: Familiarize yourself with your camera and lens capabilities. Know their limitations, and don't hesitate to seek upgrades if you feel restricted by your current setup.
3. Adjust Your Lighting.

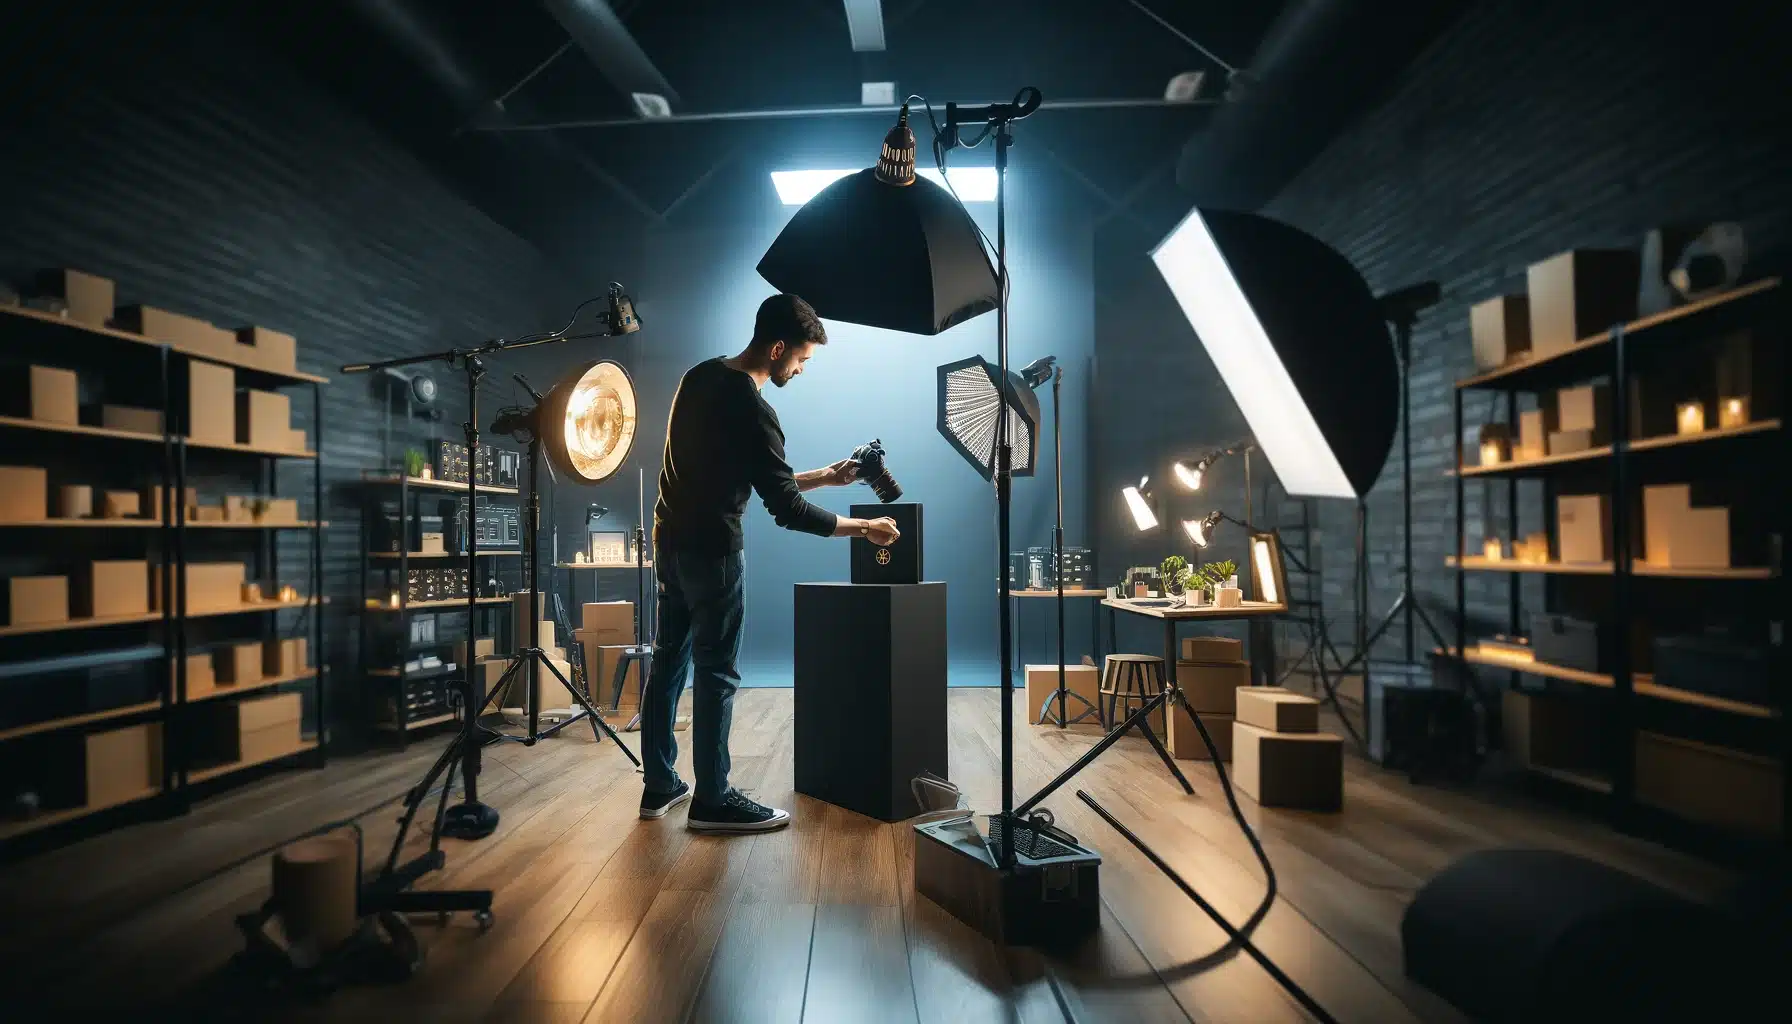
Lighting is arguably the most critical aspect of photography. It can dramatically enhance the mood, depth, and quality of your images. Here are essential lighting tips:
- Maximize Natural Light: Use the sun to your advantage. The golden hours—shortly after sunrise and before sunset—provide soft, flattering light that can elevate your photos significantly.
- Front Lighting for Portraits: To create flattering portraits, ensure your light source (e.g., a softbox or natural light) is positioned in front of your subject. This setup minimizes harsh shadows and creates a more appealing look.
- Use Strong Rear Lighting for Silhouettes: Position your subject between the camera and a strong light source to create dramatic silhouettes that add intrigue and depth to your images.
- Employ Reflectors: Use reflectors to bounce light onto your subject, filling in shadows and creating a more balanced lighting profile.
- Utilize Diffusers: Softening harsh light with a diffuser can eliminate unwanted shadows. This technique creates a more flattering lighting environment, especially for portrait photography.
4. Focus on Framing.

Framing is crucial in photography, as it dictates how your subject is presented to viewers. Here are strategies to improve your framing skills:
- Minimize Distractions: Pay attention to your background and surroundings. Removing clutter or distractions helps keep the focus on your subject.
- Find Unique Angles: Capture your subject from interesting perspectives. Experimenting with angles—such as shooting from above or below—can result in more dynamic images.
- Establish a Focal Point: Your subject should be the first element that catches the viewer's eye. Ensure it’s positioned prominently in the frame.
- Utilize Leading Lines: Incorporate natural lines within the environment to guide the viewer’s eye toward your subject. Roads, pathways, and even shadows can serve as effective leading lines.
- Follow the Rule of Thirds: Instead of centering your subject, divide your frame into thirds using imaginary lines. Position your subject at one of the intersection points to create a more visually appealing composition.
- Fill the Frame: Avoid wasted space by allowing your subject to occupy a significant portion of the frame. Filling the frame enhances the impact of your shot, making it feel more intimate and engaging.
5. Learn to Customize Your Camera Settings.

While automatic settings on modern cameras can yield impressive results, understanding how to manually adjust settings is vital for achieving professional-quality photos. Here are two key settings to master:
- Aperture: The aperture controls how wide your lens opens when taking a photo. A wider aperture (lower f-number) allows more light in and creates a shallower depth of field, making your subject stand out against a blurred background.
- Shutter Speed: This setting determines how long the shutter remains open, impacting exposure and motion blur. A fast shutter speed freezes action, while a slow shutter speed allows for creative blur effects.
6. Practice Using Photo Editing Software.

Editing is where many amateur photographers realize their images can truly shine. Most professional photos undergo post-processing to achieve that polished look. Here’s how to approach photo editing:
- Choose the Right Software: Programs like Adobe Lightroom, Photoshop, or even free options like GIMP provide various editing capabilities. Pick a program that fits your skill level and requirements.
- Make Basic Adjustments: Begin with simple edits, such as cropping, adjusting exposure, and enhancing contrast. These fundamental tweaks can significantly improve your image quality.
- Experiment with Filters: Filters can enhance your photos, but use them judiciously. Many editing programs offer built-in filters that can help you achieve the desired mood or effect.
- Color Correction: Adjusting white balance and saturation can transform the overall look of your images, making them more natural or dramatic depending on your intent.
- Non-Destructive Editing: Familiarize yourself with non-destructive editing techniques, which allow you to make changes without permanently altering the original image. This feature lets you experiment without fear of ruining your work.


Comments (0)