


Photography is both an art and a science, requiring creativity, technical knowledge, and practice. Whether you're a novice with a smartphone or an experienced photographer with a DSLR, there’s always room for improvement. Below are some essential tips to help you take great photos, along with practical advice and insights that can enhance your photography skills.
1. Practice Often.
The best way to improve your photography is through consistent practice. The more you shoot, the more you’ll learn about your camera, composition, lighting, and what works well in different situations. Don’t be afraid to experiment; try different settings, styles, and subjects.
Mistakes are an essential part of the learning process. Every photographer has experienced blurry images, poor lighting, or composition errors. Instead of getting discouraged, use these moments to understand what went wrong and how you can improve next time. Engage with online photography communities or local clubs to share your work and receive constructive feedback. By embracing practice and feedback, you'll gradually develop your unique style.
2. Understand the Rule of Thirds.

One of the foundational principles in photography is the rule of thirds. This technique helps you create well-balanced and engaging compositions. Imagine your frame divided into nine equal sections by two vertical and two horizontal lines. According to the rule, important elements of your photo should be placed along these lines or at their intersections, known as "power points."
Instead of centering your subject, place it off to one side. For example, in landscape photography, placing the horizon along the top or bottom third line can add interest to the photo. Many cameras have a grid feature that can help you visualize this composition as you shoot.
3. Focus on the Eyes.

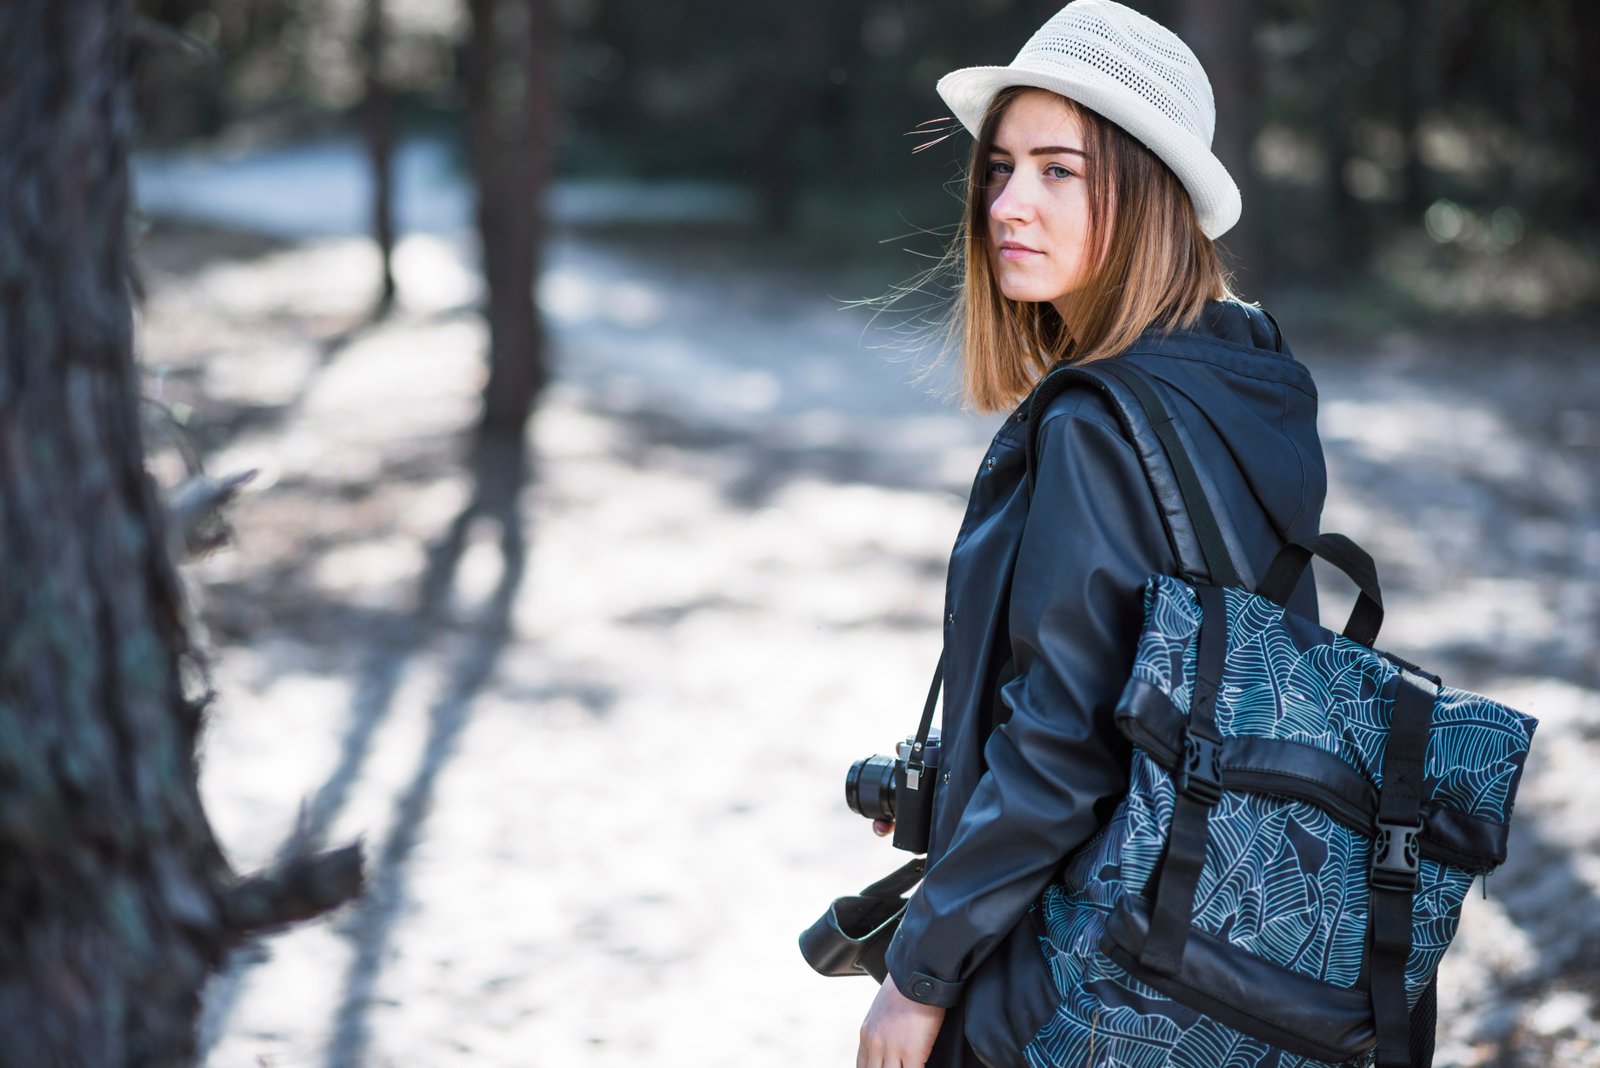
In portrait photography, the eyes are often the focal point of your subject. Sharp, clear eyes draw viewers into the image and create a connection. When taking portraits, ensure that the eyes are in sharp focus, especially if you're shooting with a wide aperture that creates a shallow depth of field.
To achieve this, you can manually set your camera to focus on the subject's eyes or use a focus point to ensure that the eyes are sharp. If you’re shooting with a DSLR or mirrorless camera, use the single-point autofocus mode for precise control.
4. Keep Backgrounds Simple.

A busy or distracting background can take attention away from your subject, diluting the impact of your photo. Aim for simple, uncluttered backgrounds that allow your main subject to shine. Neutral colors, soft patterns, or a natural landscape often work best.
If you find yourself in a distracting environment, consider changing your angle or moving your subject. Sometimes, simply stepping back or to the side can change the perspective and make the background less obtrusive. Alternatively, using a wider aperture (smaller f-number) can help blur the background, drawing more focus to your subject.
5. Learn the Exposure Triangle.
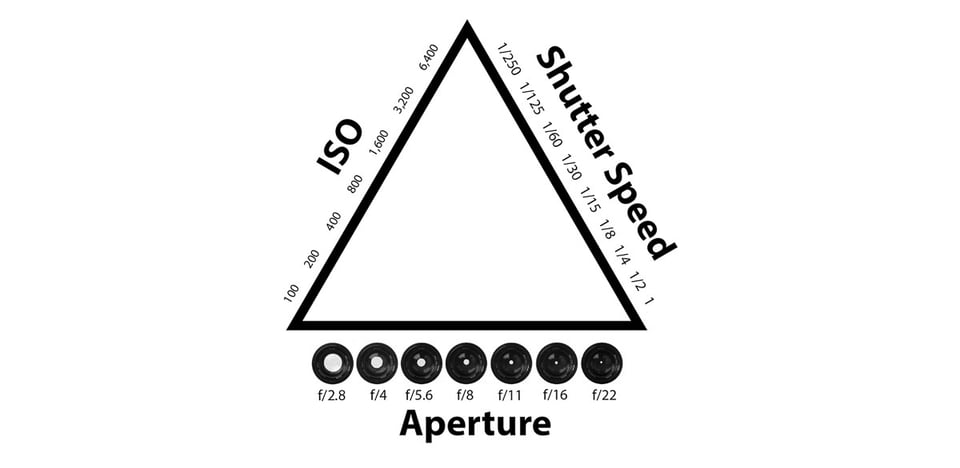
Understanding the exposure triangle is crucial for mastering photography. The triangle comprises three elements: ISO, aperture, and shutter speed. Each plays a vital role in determining the exposure of your image.
- ISO: This setting controls your camera’s sensitivity to light. A low ISO (e.g., 100-400) is suitable for bright conditions, while a higher ISO (800 and above) is necessary for low-light situations. However, be aware that increasing the ISO can introduce noise, which can reduce image quality.
- Aperture: The aperture is the opening in your lens that allows light to reach the camera sensor. A larger aperture (smaller f-number, e.g., f/2.8) allows more light in and creates a shallow depth of field, ideal for portraits. In contrast, a smaller aperture (larger f-number, e.g., f/16 or f/22) reduces light but increases depth of field, making it better for landscapes where you want everything in focus.
- Shutter Speed: This controls how long the camera's shutter remains open. Faster shutter speeds (e.g., 1/1000 seconds) freeze motion, while slower speeds (e.g., 1/30 seconds) can capture motion blur. Experimenting with different shutter speeds can yield interesting effects, but be careful of camera shake with slower speeds, which may require a tripod.
6. Use Aperture Priority and Shutter Priority Modes.
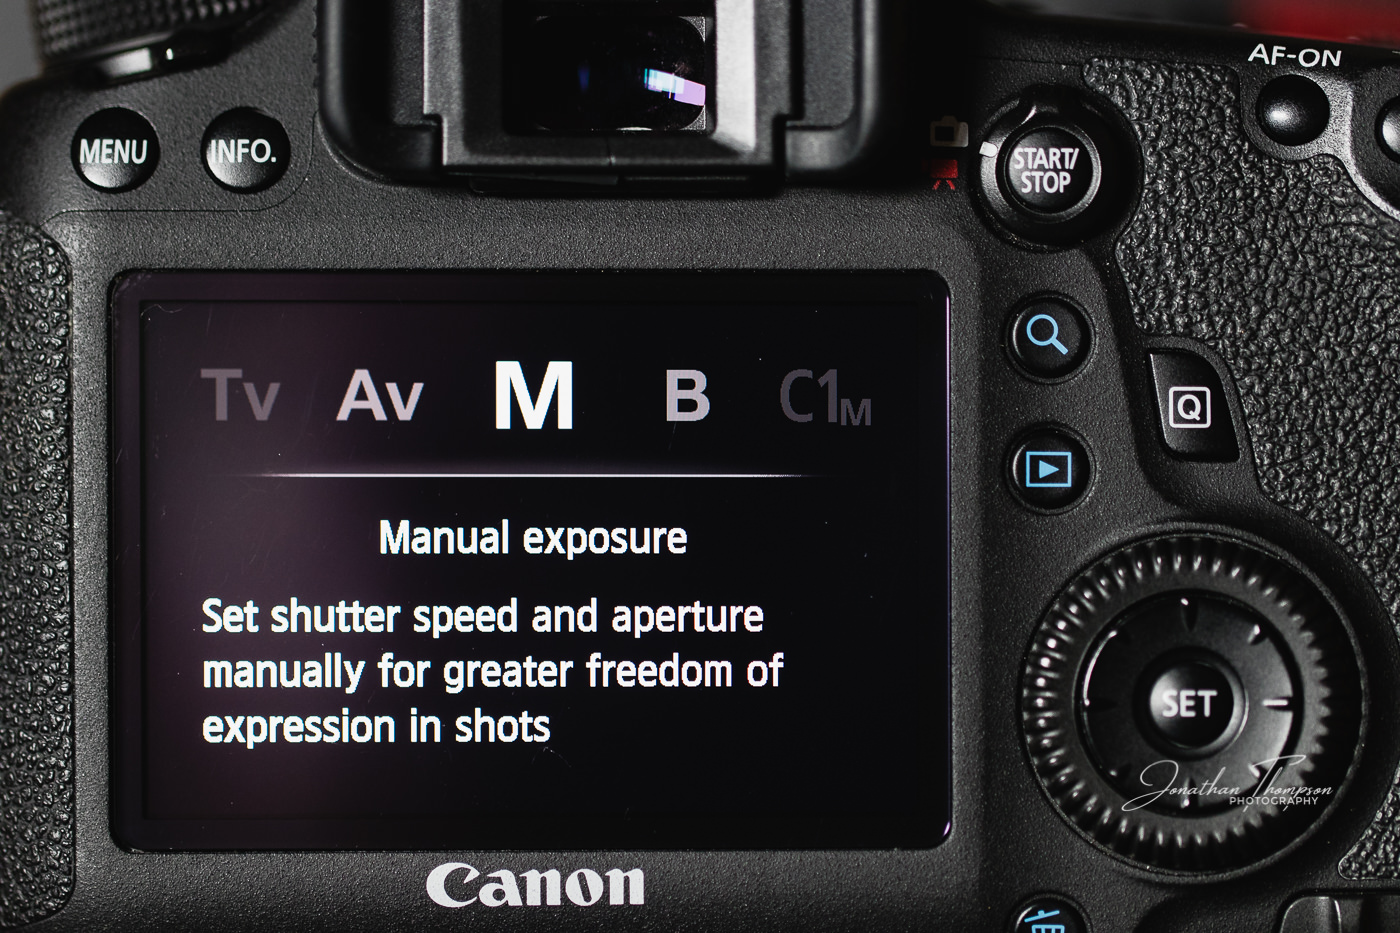
If you’re not yet ready to dive into full manual mode, take advantage of your camera’s Aperture Priority Mode (A or Av) and Shutter Priority Mode (S or Tv). These modes allow you to control one aspect of exposure while the camera automatically adjusts the other settings.
- Aperture Priority Mode: In this mode, you select the aperture, and the camera calculates the necessary shutter speed to achieve proper exposure. This is especially useful for controlling depth of field in portraits and still life.
- Shutter Priority Mode: Here, you choose the shutter speed, and the camera selects the appropriate aperture. This mode is great for capturing fast-moving subjects, like sports or wildlife, ensuring you freeze the action effectively.
7. Check ISO Settings Regularly.

One common mistake photographers make is forgetting to reset the ISO after changing it for specific lighting conditions. Discovering you’ve shot a series of bright photos at a high ISO can be frustrating, resulting in grainy images.
To avoid this, develop a habit of checking your ISO settings before you start shooting, especially if you’ve been using your camera in varying lighting conditions. Consider resetting the ISO every time you put your camera away or before changing locations.
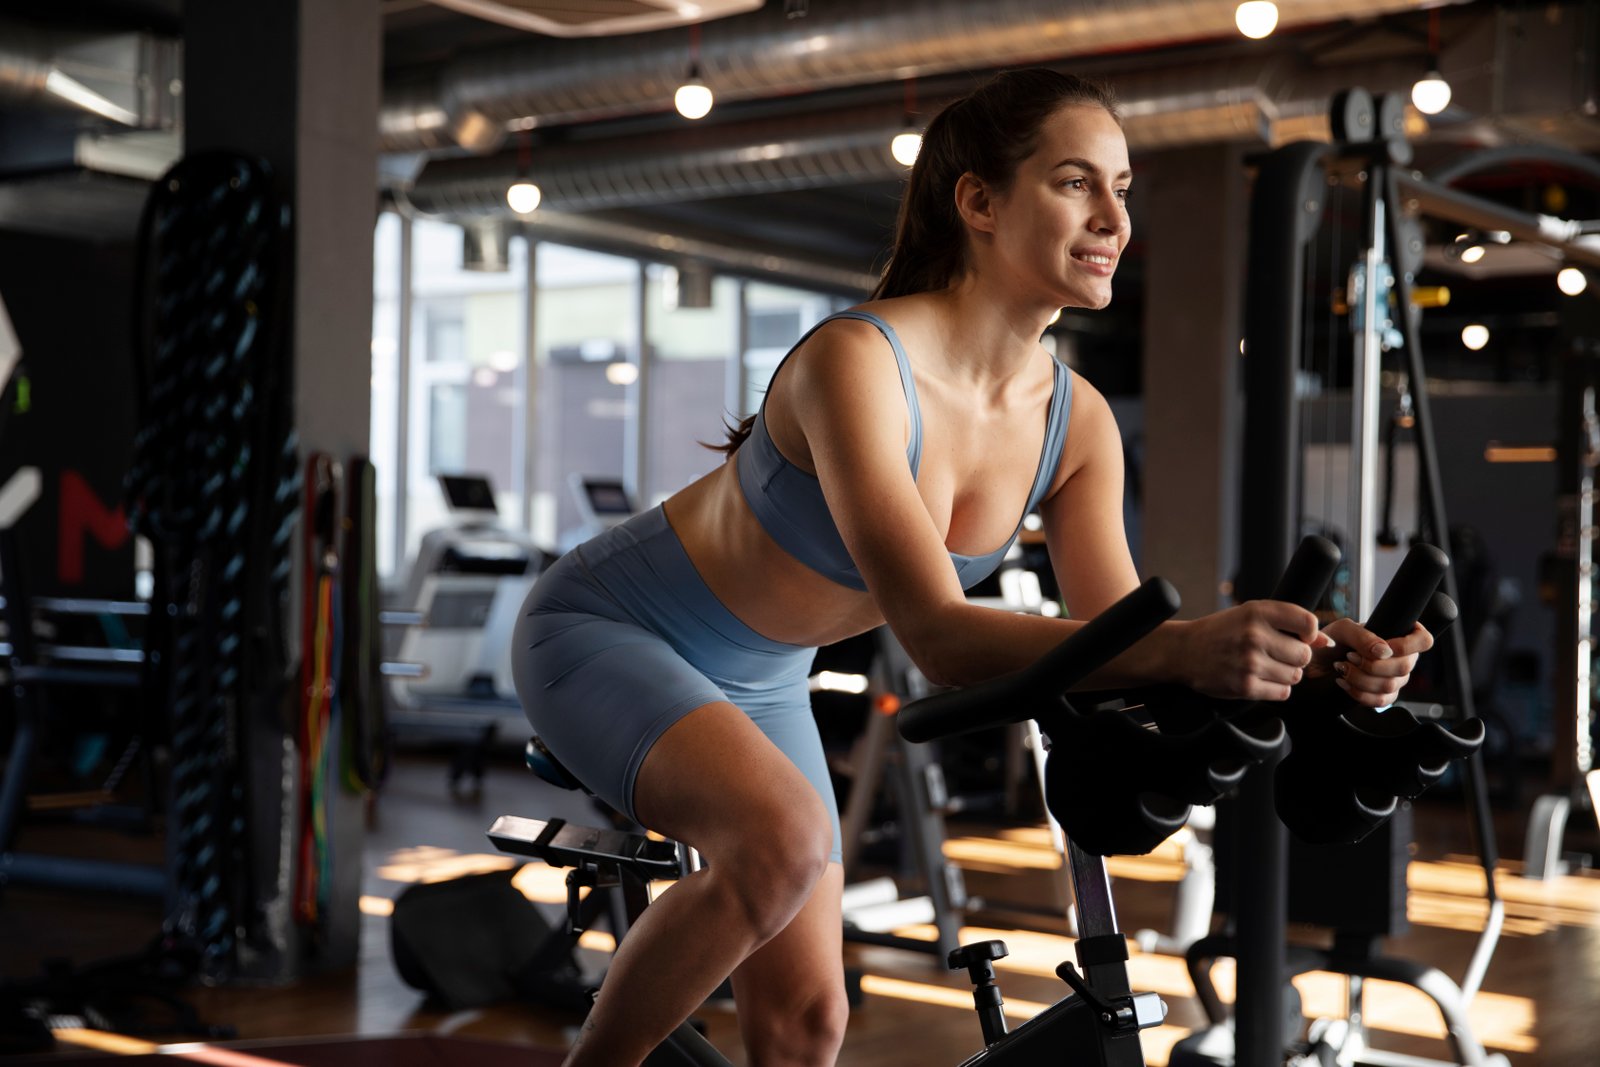
8. Use On-Camera Flash Sparingly.

While on-camera flash can be useful in low-light situations, it often produces harsh shadows and red-eye effects, making your photos look unnatural. Instead of relying on the built-in flash, try increasing the ISO to achieve better exposure in low light. This may result in noisier images, but the overall effect will typically be more appealing than using the flash.
If you need additional light, consider investing in an external flash unit or diffuser, which can soften the light and create a more flattering effect.
9. Invest in a Tripod.

A tripod is an essential accessory for photographers, especially in low-light situations where camera shake can ruin your shots. Using a tripod allows you to take longer exposures without losing sharpness. This is particularly useful for landscape photography, night scenes, or when using slower shutter speeds.
With a tripod, you can also experiment with techniques like long exposure photography, capturing the movement of water, light trails from traffic, or star trails in the night sky. When shooting with a tripod, always use a remote shutter release or the camera's self-timer to avoid any movement when pressing the shutter button.
10. Shoot During Golden Hour.

Lighting is one of the most crucial aspects of photography, and shooting during the golden hour—the hour after sunrise and the hour before sunset—provides the most flattering light. During this time, the sun is low in the sky, casting warm, soft light that enhances colors and adds depth to your photos.
The long shadows and diffused light can add a magical quality to landscapes, portraits, and still life. While the golden hour is ideal, don't limit yourself to it—experiment with different times of day and various lighting conditions to find what works best for your style.
11. Learn from Mistakes.

No photographer is perfect, and everyone encounters challenges like overexposed shots, blurry images, or poor composition. Instead of simply deleting these photos, take the time to analyze what went wrong. Ask yourself questions like:
- Was the lighting adequate?
- Did I use the right shutter speed?
- Was my composition well thought out?
By studying your mistakes, you can gain insights into your photography and avoid repeating them in the future. Consider keeping a photography journal to note your observations and progress.
Conclusion
Photography is a continuous journey of exploration and learning. By practicing regularly, understanding key concepts like the rule of thirds and the exposure triangle, and learning from both your successes and mistakes, you can significantly improve your photography skills. Embrace creativity, be patient with yourself, and most importantly, enjoy the process of capturing the world around you through your lens. Happy shooting!


Comments (0)