

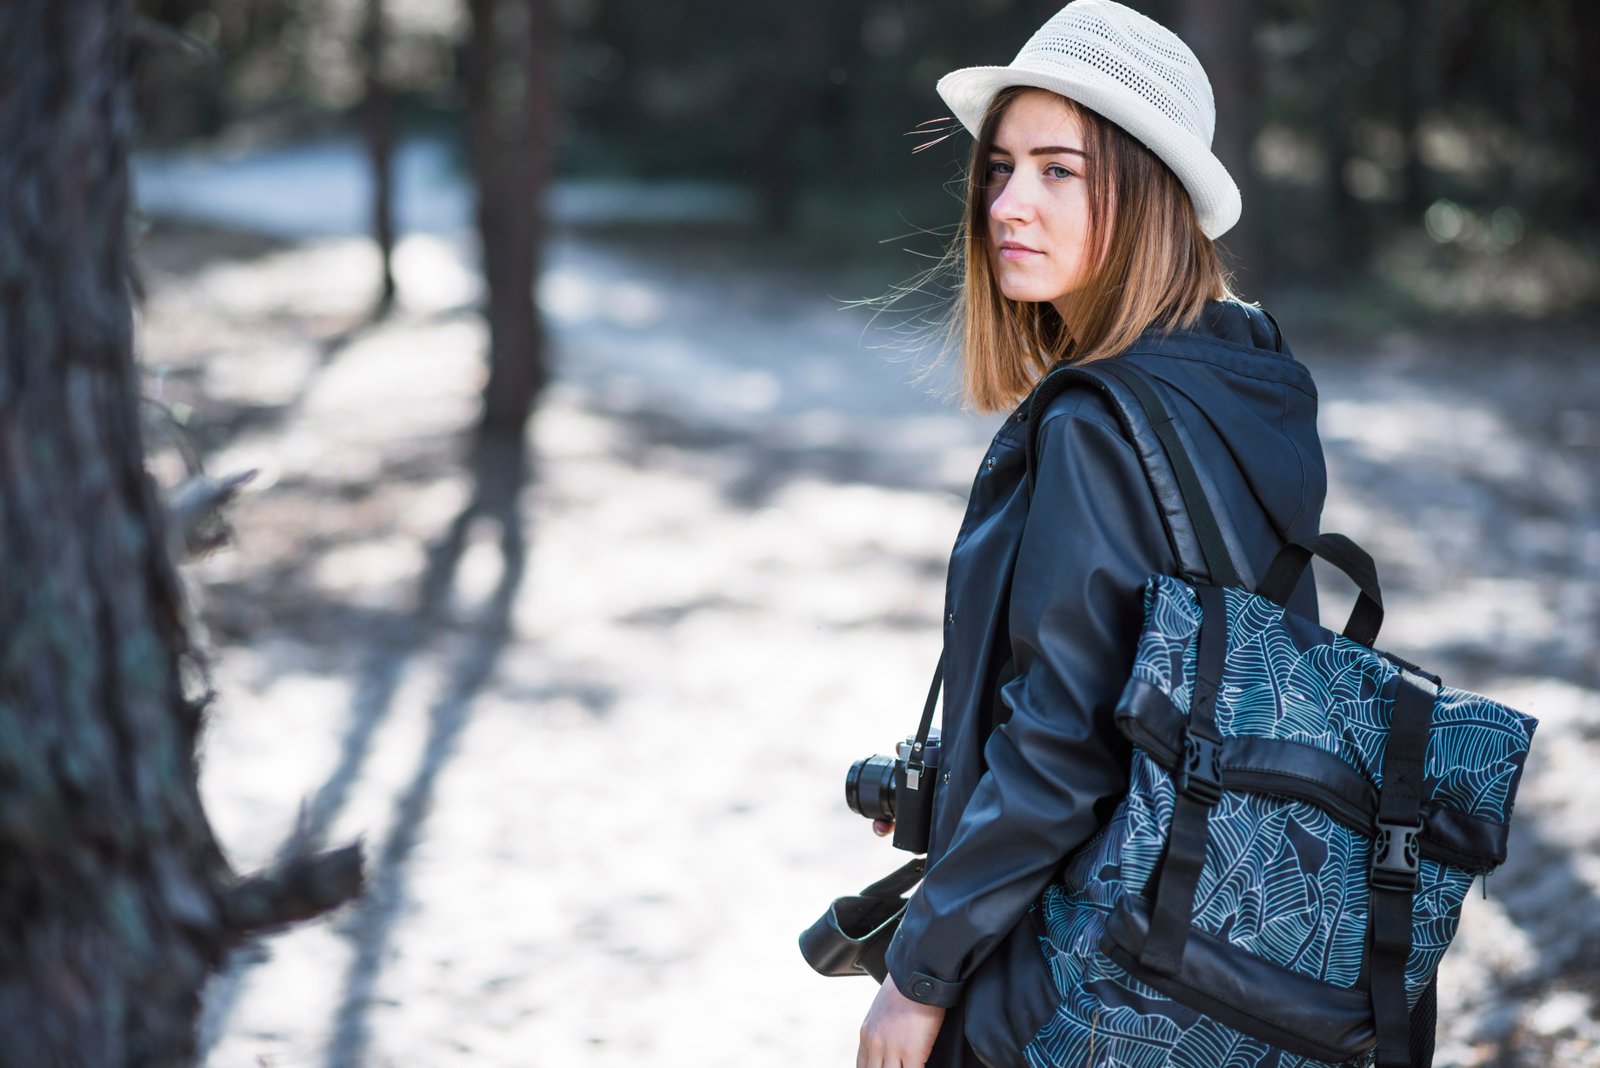

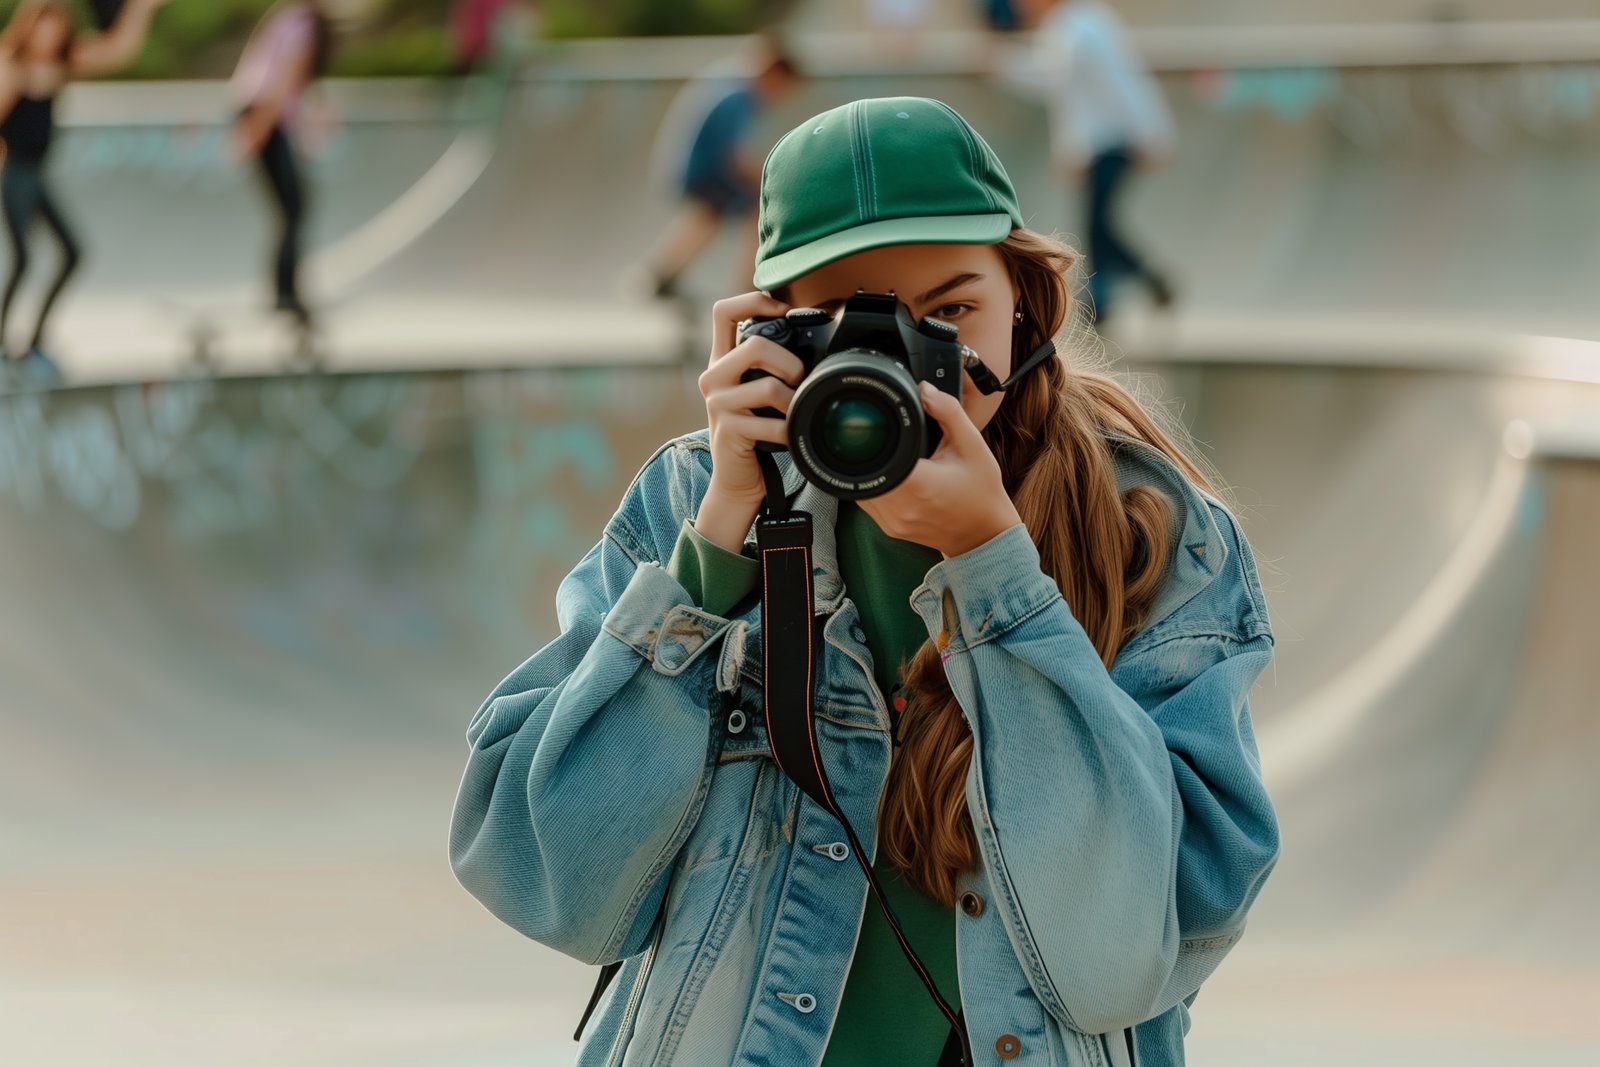
Do you want to Taking professional-quality photos can seem daunting for beginners, but it can also be a rewarding and enjoyable experience. With the right knowledge, techniques, and practice, you can elevate your photography to a professional level. This comprehensive guide provides tips and insights to help you on your photography journey, ensuring that you can capture stunning images that you’ll be proud to share.
1. Understand Your Camera.
- Before diving into photography, it’s essential to understand the equipment you have. Whether you’re using a smartphone, a DSLR, or a mirrorless camera, familiarize yourself with its features and settings.
- Smartphone Cameras: Most modern smartphones have powerful cameras with various settings. Explore options like HDR, night mode, and manual controls if available.
- DSLR and Mirrorless Cameras: If you have a dedicated camera, take the time to read the manual. Learn about the different modes available (auto, manual, aperture priority, shutter priority) and how they affect your photos.
1. Explore Camera Settings.
- Understanding key camera settings will significantly enhance your ability to capture professional-quality photos.
- Aperture (f-stop): This controls the size of the lens opening. A lower f-stop (e.g., f/1.8) allows more light in and creates a shallow depth of field, blurring the background and isolating your subject. A higher f-stop (e.g., f/16) reduces the amount of light entering the camera and increases depth of field, keeping more of the scene in focus.
- Shutter Speed: This determines how long your camera’s shutter remains open. Faster shutter speeds (e.g., 1/500s) freeze motion, while slower speeds (e.g., 1/30s) can capture motion blur. Experimenting with different shutter speeds can produce creative effects, such as capturing the movement of water or freezing a subject in action.
ISO: This measures your camera sensor's sensitivity to light. A lower ISO (e.g., 100) produces cleaner images but requires more light. Higher ISO (e.g., 1600) allows you to shoot in low light but can introduce noise or graininess to the image.
2.Utilize Camera Modes
- Most cameras have various shooting modes that can assist beginners in capturing better photos:
- Auto Mode: This mode allows the camera to decide the best settings for your shot. It’s a great starting point for beginners.
- Aperture Priority (Av or A mode): You set the aperture, and the camera adjusts the shutter speed for correct exposure. This mode is ideal for portraits and situations where depth of field matters.
- Shutter Priority (Tv or S mode): You select the shutter speed, and the camera adjusts the aperture. This is beneficial for capturing fast-moving subjects.
- Manual Mode (M): You have complete control over all settings. This mode is best for experienced photographers who understand exposure and want full creative control.

2. Master Composition Techniques.
- The Importance of Composition: Composition is the arrangement of elements within your frame. Good composition can transform a simple photo into a striking image. Here are some essential composition techniques:
- Rule of Thirds: Imagine dividing your frame into a grid of nine equal sections with two horizontal lines and two vertical lines. Place your subject along these lines or at their intersections. This creates balance and draws the viewer's eye to the subject.
- Leading Lines: Use natural lines in the scene (like roads, rivers, or fences) to guide the viewer’s eye toward the subject. Leading lines create depth and can make your photo more dynamic.
- Framing: Incorporate elements in your scene (like branches or doorways) to frame your subject. This technique adds context and directs focus to the subject.
- Symmetry and Patterns: Look for symmetrical elements and repeating patterns in your surroundings. These can create visually pleasing images and add an interesting dynamic to your compositions.
- Negative Space: Use empty space around your subject to emphasize it and create a sense of isolation or simplicity. This technique can make your subject stand out and add a minimalist feel to your photos.
3. Master Lighting Photography.

- Natural Light: Natural light is one of the most important aspects of photography. Understanding how to use it effectively can elevate your images.
- Golden Hour: This is the period shortly after sunrise and before sunset when the light is soft and warm. Shooting during this time creates beautiful, flattering images and enhances colors.
- Avoid Harsh Midday Sun: Midday sunlight can create harsh shadows and overly bright highlights. If you have to shoot during this time, look for shaded areas or use reflectors to soften the light.
- Cloudy Days: Overcast days provide diffused light, reducing harsh shadows. This is excellent for portraits and macro photography.
1. Artificial Light
- In addition to natural light, learning to use artificial light sources is crucial for professional photography.
- Flash: A flash can add light to your subject when shooting in low-light conditions. Use it creatively by bouncing the flash off surfaces (walls or ceilings) to create softer, more natural lighting.
- Continuous Lighting: Softboxes and LED panels provide consistent lighting, making them ideal for studio setups. These can help you control shadows and highlights effectively.
- Reflectors: Use reflectors to bounce light onto your subject, filling in shadows and creating a more balanced exposure. You can use commercial reflectors or even DIY options like white foam boards or aluminum foil.
2. Backlighting
- Backlighting occurs when the light source is behind your subject. This technique can create stunning effects:
- Silhouettes: Position your subject between the camera and the light source to create a dramatic silhouette. This works well for sunsets or any strong light source.
- Glow Effect: When shooting with backlighting, adjust your exposure to avoid blowing out the highlights. This can give your subject a beautiful glow, especially for portraits or nature photography.
4. Editing Your Photos.

- Software: Use photo editing software like Adobe Lightroom, Photoshop, or free alternatives like GIMP or Canva.
- Basic Adjustments: Learn to adjust exposure, contrast, saturation, and sharpness. Cropping can also enhance composition.
- Presets and Filters: Explore presets for consistent editing styles, but use them sparingly to maintain authenticity.
5. Use Depth of Field Creatively.
- Controlling Depth of Field: Depth of field refers to the range of distance within a photo that appears sharp. Here’s how to use it creatively:
- Shallow Depth of Field: Use a wide aperture (low f-number) to create a blurred background that isolates the subject. This is particularly effective in portrait photography, where you want to emphasize the person while minimizing distractions.
- Deep Depth of Field: In landscape photography, use a narrow aperture (high f-number) to keep both the foreground and background in focus. This helps create a sense of depth and allows viewers to explore the scene.
- Focus Stacking: For intricate subjects or landscapes where you want everything sharp, consider focus stacking. Take multiple shots at different focal points and blend them in post-processing to achieve a perfectly sharp image.
6. Experiment with Different Angles.
Change Your Perspective: One of the simplest ways to create more interesting photos is by changing your shooting angle.
- Get Low: Shooting from a low angle can make your subject appear more imposing and add a sense of drama. This perspective is especially effective in portrait and wildlife photography.
- High Angle: Conversely, shooting from above can provide a unique viewpoint, emphasizing patterns or the surrounding environment. This technique works well for street photography and group shots.
- Tilted Angles (Dutch Angle): Tilt your camera to create a diagonal horizon. This technique can add a sense of dynamism and tension, often used in action or dramatic scenes.
7. Post-Processing Techniques.

- The Importance of Editing: Post-processing is an essential part of photography that allows you to enhance and refine your images. Here are some tips for effective editing:
- Editing Software: Use software like Adobe Lightroom or Photoshop to edit your photos. These programs offer powerful tools for adjusting exposure, contrast, color balance, and more.
- Basic Adjustments: Start with basic adjustments such as cropping, straightening, and enhancing exposure. Adjust highlights and shadows to improve dynamic range and create a more balanced image.
- Color Correction: Adjust color temperatures to ensure accurate skin tones in portraits and vibrant colors in landscapes. Use the HSL (Hue, Saturation, Luminance) panel to fine-tune specific colors in your image.
- Sharpening and Noise Reduction: Apply sharpening to enhance details and reduce noise, especially in images taken at high ISO settings. Be careful not to overdo it, as excessive sharpening can create artifacts.
- Presets: Explore presets for consistent editing styles. Presets can save time and help create a cohesive look across your portfolio. However, remember to adjust them for individual photos to maintain authenticity.
8. Use a Tripod for Stability.
The Benefits of a Tripod
A tripod is an invaluable tool for photographers, offering several benefits:
- Stability: A tripod stabilizes your camera, reducing the risk of camera shake and blurriness in low-light situations or long exposures. This is especially useful for landscape photography, where sharpness is crucial.
- Consistency: Using a tripod allows you to maintain consistent framing and composition across multiple shots, making it easier to create a series of images or time-lapse sequences.
- Long Exposure Photography: Tripods are essential for long exposure shots, such as capturing the motion of water or creating light trails at night. These techniques require slow shutter speeds, which can’t be hand-held without introducing blur.
9. Practice, Practice, Practice.
The Key to Improvement
Consistent practice is the cornerstone of developing your photography skills.
- Regular Shooting: Set aside time each week to shoot different subjects and practice various techniques. This will help you become more comfortable with your camera and develop your style.
- Explore Different Genres: Try your hand at various types of photography, including portraits, landscapes, street photography, and macro. Each genre will teach you new skills and expand your creative horizons.
- Challenge Yourself: Participate in photography challenges or projects, such as 365-day photo challenges, where you take a photo every day for a year. This will push you to explore new ideas and improve your skills.
10. Seek Feedback and Learn.
- The Value of Constructive Criticism: Receiving feedback on your work is crucial for growth as a photographer.
- Join Photography Communities: Engage in online forums or local photography clubs. Sharing your work and receiving constructive criticism can help you identify areas for improvement.
- Find a Mentor: If possible, seek out a mentor with more experience in photography. They can offer valuable insights and guidance to help you develop your skills.
- Analyze Other Photographers: Study the work of photographers you admire. Pay attention to their composition, lighting, and techniques. Analyze what you like about their images and consider how you can incorporate similar elements into your own work.
11. Stay Inspired.
Finding Inspiration
Inspiration is essential for creativity in photography. Here are some ways to keep your passion alive:
- Follow Photographers on Social Media: Platforms like Instagram, Pinterest, and Flickr are excellent for discovering new photographers and styles. Engage with their work and let it inspire you.
- Explore New Locations: Travel or explore your local area to find new subjects and scenes to photograph. Changing your environment can reignite your creativity and lead to fresh perspectives.
- Set Personal Projects: Create personal projects that challenge you creatively. For example, you might focus on a specific theme (like colors or emotions) or commit to a specific genre for a month.
- Take Workshops or Courses: Attend photography workshops or online courses to learn new techniques and gain fresh perspectives. These can provide valuable insights and inspire new ideas.
Conclusion
Becoming proficient in photography is an ongoing journey that requires patience, practice, and passion. By understanding your equipment, mastering composition and lighting, and continually experimenting with different techniques, you can create stunning images that reflect your unique vision. Embrace the process, stay curious, and allow your creativity to flourish as you capture the world around you. Enjoy the adventure of photography, and remember that every photo you take is an opportunity to learn and grow as an artist.


Comments (0)